Five Short Experiments to Train Your Eye for Everyday Light
Light is the single most important element in a photograph, and yet it often goes unnoticed until someone points a camera at a scene. These five small experiments are designed as a practical field guide: each takes a short amount of time, you can repeat them often, and together they build a stable habit of noticing light in everyday places.
How to use these exercises
Do them in order; each task builds on the last. Use whatever camera you have—phone, compact, or DSLR. The aim is observation more than technical perfection. Keep a folder or album labeled “Light Studies” so you can review and compare.
Experiment 1 — Five-minute light log
Objective: Start noticing changes in light quality over a single morning or afternoon.
- Pick a window, doorway, or corner of a room where you spend time.
- Set a timer for five minutes. Every minute take one quick photo of the same spot without moving your camera much.
- After five minutes, look at the five frames in sequence. Note how contrast, shadow length, and color shift.
What to notice: Is the light hard (distinct shadows) or soft (diffused, gentle gradations)? Does the color warm or cool? Small changes reveal how quickly light alters mood.
Experiment 2 — Direction study: front, side, back
Objective: Learn how light direction changes a subject’s shape and texture.
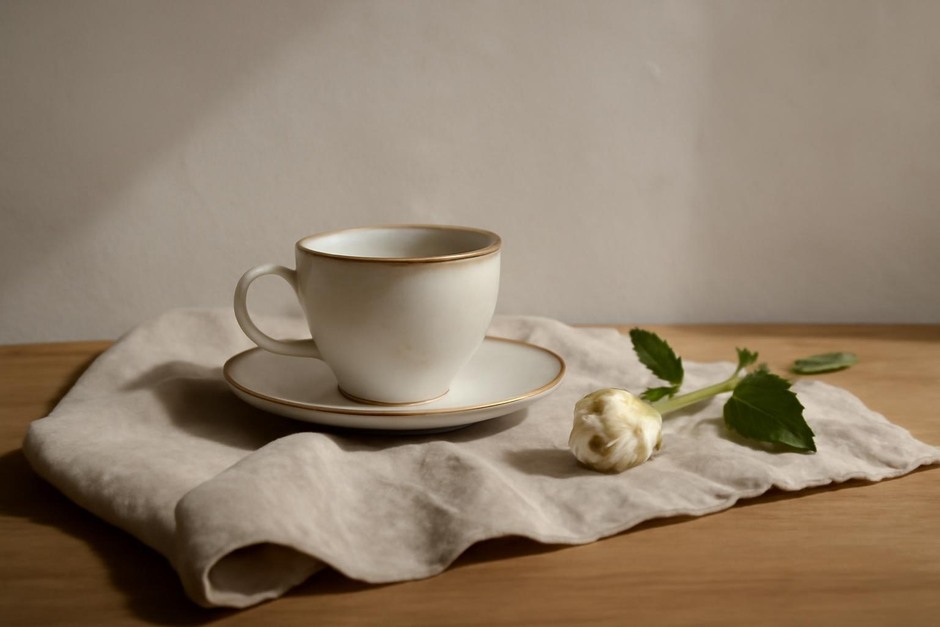
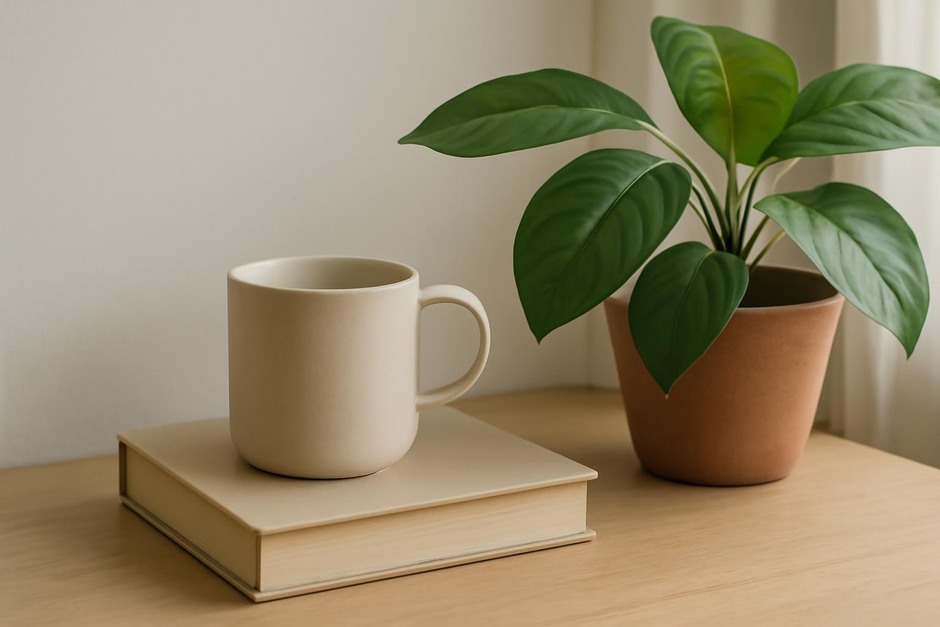
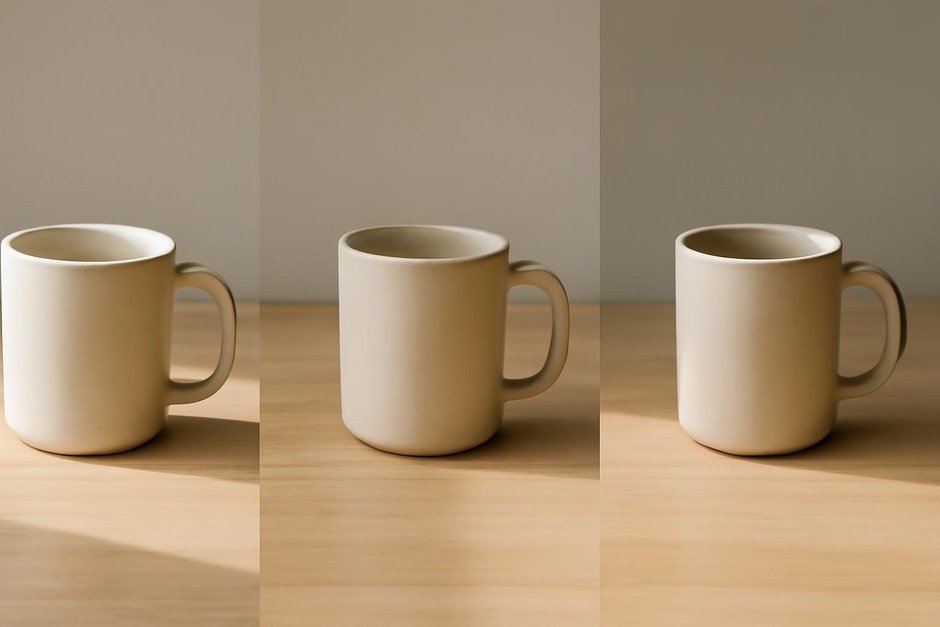
- Choose a simple subject: a mug, a potted plant, a chair leg—something with recognizable form and texture.
- Shoot three frames from the same camera position: with the light source in front (light on the subject), to the side, and behind (backlight).
- For each frame, take a close and a medium shot if time allows.
What to notice: Front light flattens details, side light reveals texture and depth, backlight outlines shape and can create rim light or silhouettes. Keep mental notes about which direction matched the mood you preferred.
Experiment 3 — Shadow as composition
Objective: Use shadow shapes as a compositional element instead of treating them as a problem.
- Find a scene with a distinct shadow—tree branches on pavement, a window grille, or a stack of plates.
- Shoot a series of three images that frame the shadow differently: full-shadow, shadow-plus-subject, and subject-dominant with faint shadow.
- Try moving a step left or right to change how the shadow intersects the subject.
What to notice: Shadows create lines, shapes, and negative space. Sometimes the most compelling image emphasizes the shadow pattern more than the literal subject.
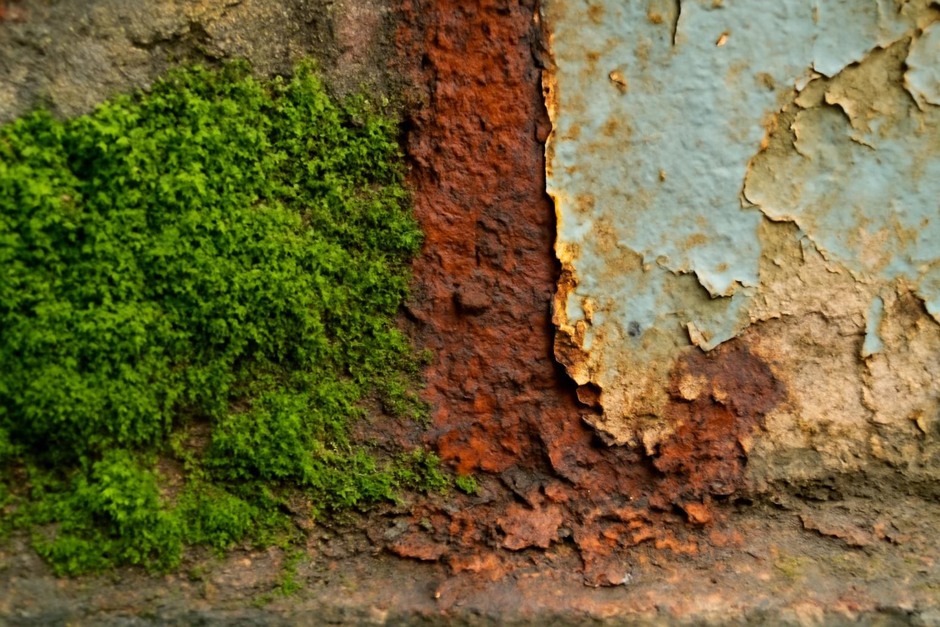
Experiment 4 — Texture close-ups in side light
Objective: Discover how low-angle side light enhances texture.
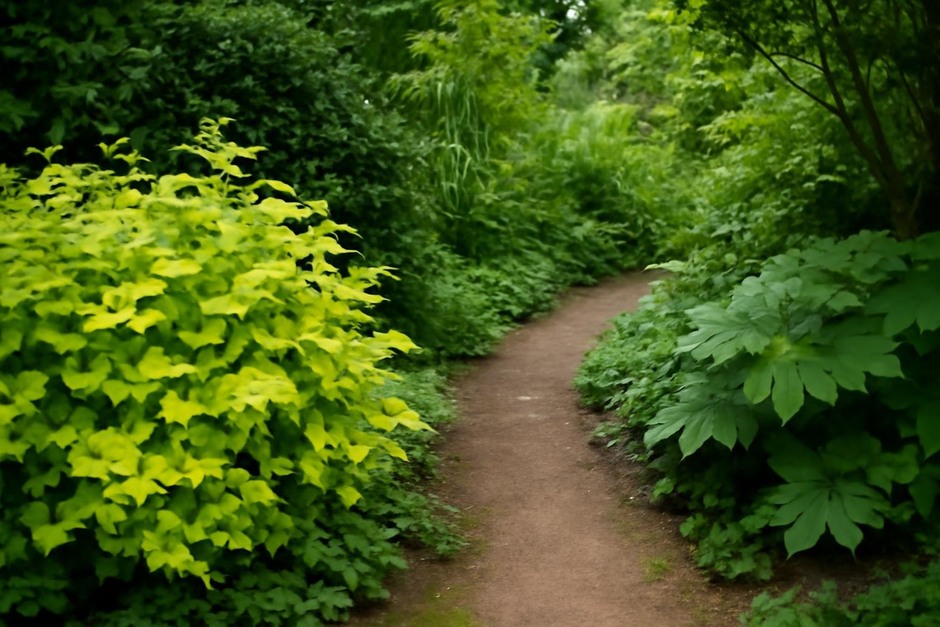
- Choose three small textural subjects: a leaf, a wooden tabletop, and fabric (or any three you find nearby).
- Shoot each subject twice: once with diffuse overhead light (cloudy or shade) and once with side light (near a window or lamp at an angle).
- Compare how the side light creates relief, detail, and depth.
What to notice: Side lighting exaggerates micro-shadows that define texture. This is a reliable method for making ordinary surfaces look tactile and interesting.
Experiment 5 — A five-image light study
Objective: Pull together what you’ve learned into a coherent mini-series.
- Pick a single subject that’s easy to revisit for an hour—your bicycle, kitchen corner, a street corner, or a bench.
- Over the course of one hour (or three different times of day if possible), make five deliberate images that emphasize different light qualities: hard/soft, front/side/back, shadow composition, texture close-up, and silhouette or rim light.
- Label each image with the light condition you intended and why you made that choice.
What to notice: Viewing the five images together will show patterns: the directions that flatter the subject, the times when texture is most visible, and the moments that feel most expressive.
Next steps and habits
Repeat these exercises weekly in different settings. Over time you’ll develop quick instincts: where to stand, when to wait, and which light best matches the feeling you want to convey. Keep a short note with each study—one sentence about what you learned—and your attention will sharpen faster than any technical tutorial.
Practical tip: If conditions are bright and contrasty, expose for the highlights to keep detail; if you want mood in the shadows, allow more exposure there. But first, practice seeing the light without worrying about perfect exposure.
These small experiments turn the act of noticing into a repeatable skill. Light is something you can train your eye to read; start small, be curious, and let ordinary places become a laboratory.