A Step-by-Step Method for Capturing Micro-Scenes: Photographing Smallness in Everyday Places
Micro-scenes are the tiny arrangements that make up a place: a chipped windowsill, a cigarette butt beside a puddle reflecting neon, the layered leaves on a path. Treating these small things as subjects trains your eye for composition, light, and context. The following method turns noticing into a short, repeatable practice. It pairs an attention habit with a camera technique, and includes quick examples showing why each step matters.
Step-by-step method
-
Set a short intention (1–3 minutes).
Before you go out or move through a room, decide the scale and theme: “textures at hand height” or “junctions where two materials meet.” Example: today’s intention might be “converging lines under knee height.” A short intention focuses selection and limits endless searching.
-
Walk a slow loop (5–10 minutes).
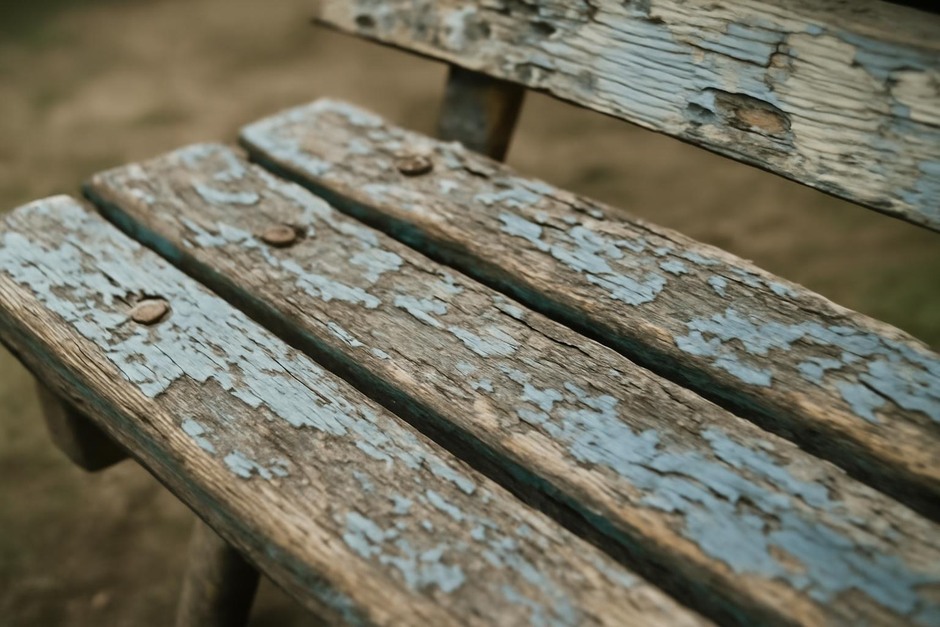
Move deliberately through a single block, a living room, or the corner of a garden. The point is not coverage but repetition—passing the same spots lets small differences register. Example: three passes past the same bench reveal a new scrap of paper the third time.
-
Look for a micro-anchor.
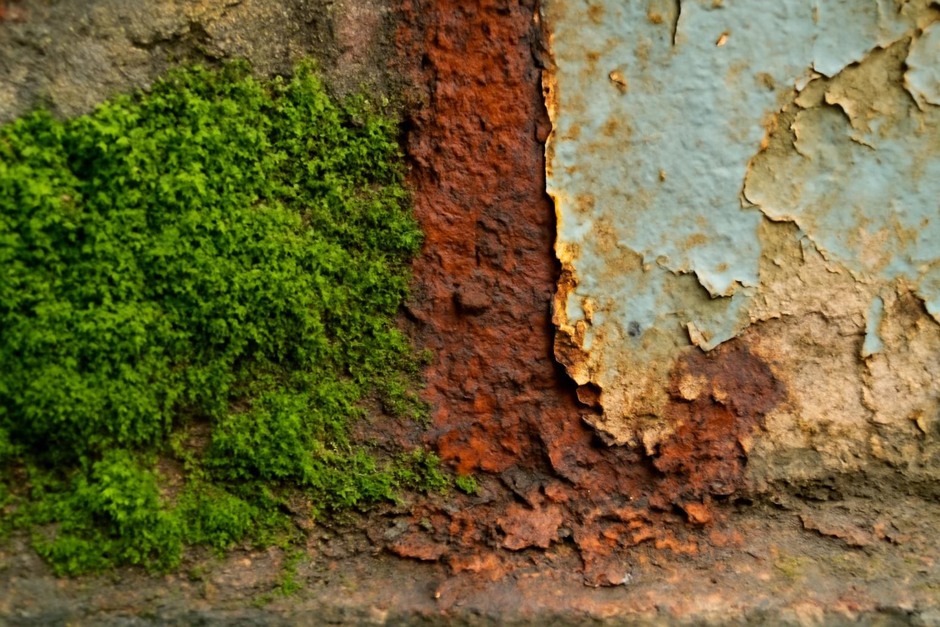
Find a tiny, stable element to center your frame: a nut on a stair tread, a bolt, a patch of moss. The anchor gives scale and lets surrounding details cohere. Example: a rusted screw becomes a visual center, with flaked paint and soft lichen forming secondary interest.
-
Compose close and low (or close and high).
Get physically near (or change angle) so the micro-anchor fills a useful part of the frame. Use low angles to emphasize foreground texture or top-down for pattern. Principle: proximity changes perceived scale. Example: leaning your phone near a curb makes gravel look architectural.
-
Choose a simple exposure approach.
For phones, tap to lock exposure and focus on the anchor. For cameras, pick a moderate aperture (f/4–f/8) for enough depth to show context, or a shallow aperture (f/1.8–f/2.8) to isolate a detail. Example: f/5.6 keeps both a leaf and the twig behind it reasonably sharp so the relationship reads.
-
Make three frames with small changes.
Shoot one tighter, one wider, and one from a slightly different angle or exposure. The small experiment reveals what matters: texture, edge, or light. Example: a tight crop shows the pattern of rust; a wider frame reveals the pipe that explains it.
-
Pause and name the relationship.
Before moving on, mentally name what links the elements you photographed—”contrast of old/new,” “curved line meeting a grid,” “soft vs hard.” Naming sharpens future noticing and helps you choose shots during editing.
-
End with a quick review (2–5 minutes).
Scroll the set and pick one frame that best shows the relationship you named. Resist editing at this stage; the goal is learning, not perfection. Over time you’ll spot the strongest configurations on the loop.
Why this sequence works (brief)
The method layers attention habits (intention, loop, naming) with simple photographic moves (anchor, proximity, bracketed frames). The iterative three-frame step is small enough to keep you moving but rich enough to reveal which visual feature matters.
Variations
- Black-and-white study: Remove color to focus on tone and texture. Good for peeling paint, wet pavements, and shadow patterns.
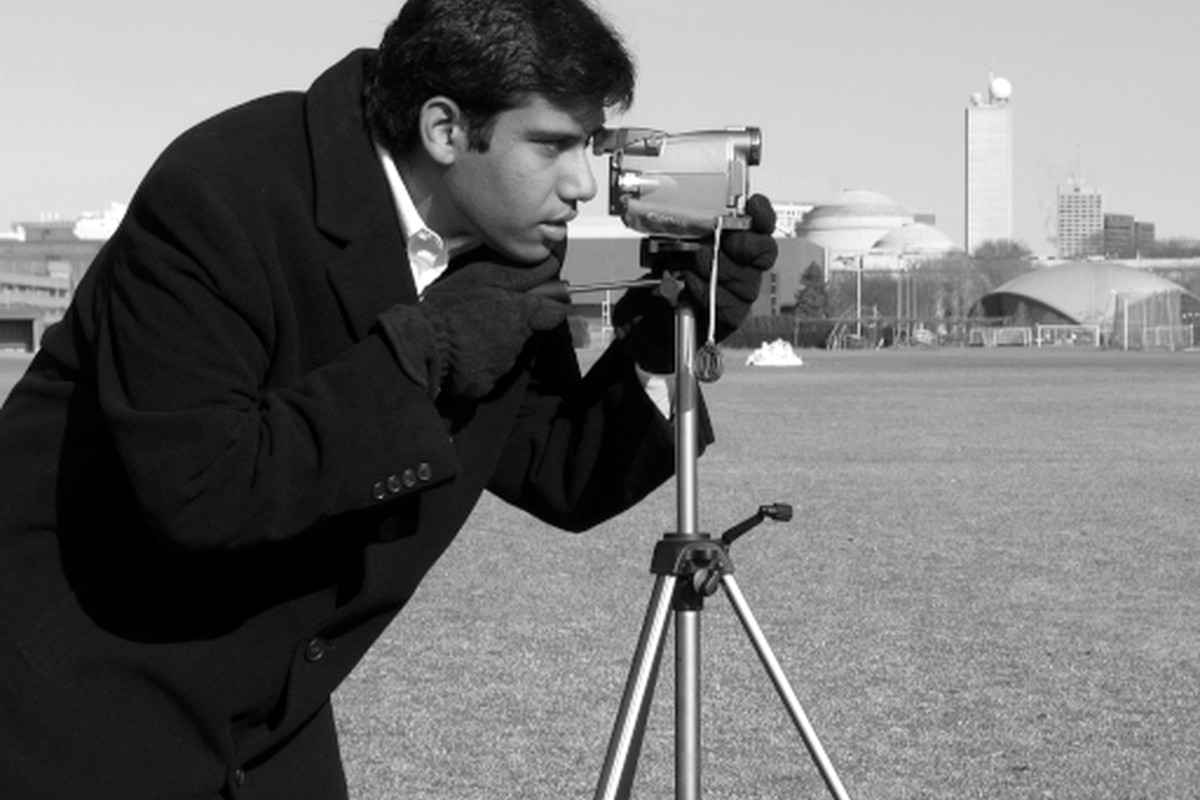
- Macro lens or macro mode: Pursue extreme detail—pores in a leaf or the weave of a fabric. Use a tripod or stabilize your hand for sharp results.
- Time-based loop: Repeat the same loop at different times of day to learn how light changes the micro-scenes.
- Constraint day: Use only one focal length, or only vertical frames, to push creative problem-solving within limits.
- Sound pairing: Note a small ambient sound connected to the scene (dripping, wind in grass) and include it as a caption to strengthen memory.
Troubleshooting
- Blurry photos: Increase shutter speed, steady your body, or bump ISO slightly. For phones, tap to focus and hold to lock before pressing the shutter.
- Background distractions: Change angle to simplify the background, lower depth of field to blur it, or move the anchor within the frame until distracting elements fall out.
- Flat light: Look for side light (move left or right) or convert to black and white to emphasize texture over color.
- Too many candidates: Rely on the intention and name the relationship quickly; if none fit, move on and return later with fresh eyes.
- Not enough time: Cut the loop to 3–4 minutes and limit yourself to one micro-anchor and three frames. Short, repeated practice compounds learning.
This method is small by design: intention, proximity, and repetition. Practiced often, it reorients your attention from the grand to the intimate and teaches you how subtle combinations of light, texture, and scale make ordinary places visually interesting.